Mach V Shifter Cable Bearing Install Help
Installation of the Mach V Shifter Cable Bearing end kit is much easier to do with the shifter cables out of the car. It can however be installed with the cables in the car if you have a small vise or other device that has flat even ends for pressing the bearings in.
Care must be taken to press the bearings in evenly. If you fail to do this you can crack the welds holding the bearings together.
Associated pictures can be seen below for each step.
Step 1: Gain access to your shifter cable ends at the transmission. This will require removing the intake pipe and anything else that may be in the way.
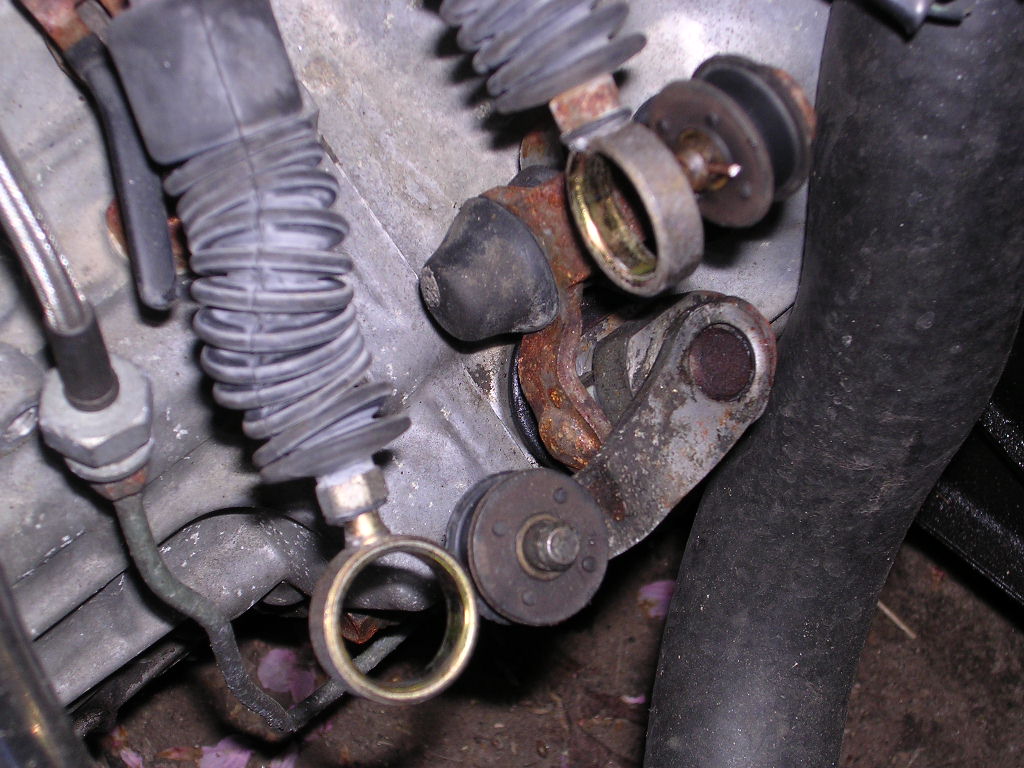
Step 2: Removing the stock rubber from the cable ends. If you have older cables the stock rubber often will just stick to the pins on the transmission when you try to pull them off. If this happens you may have to cut off the rubber and inner metal sleeve with a cutting wheel. Otherwise take a piece of stiff metal that will fit through the hole on the pin and keep the rubber bushing in place while you pull up on the cable. Take care now to bend the cable by only pulling on the metal end.
Step 3: Giving yourself some room to work with. Take out the locking clips that hold the shifter cables in the transmission bracket. This will allow you to have more room to work with. If you can't get these loose get a large flat blade screwdriver and pry on the edges of these clips to try and work them up and off.
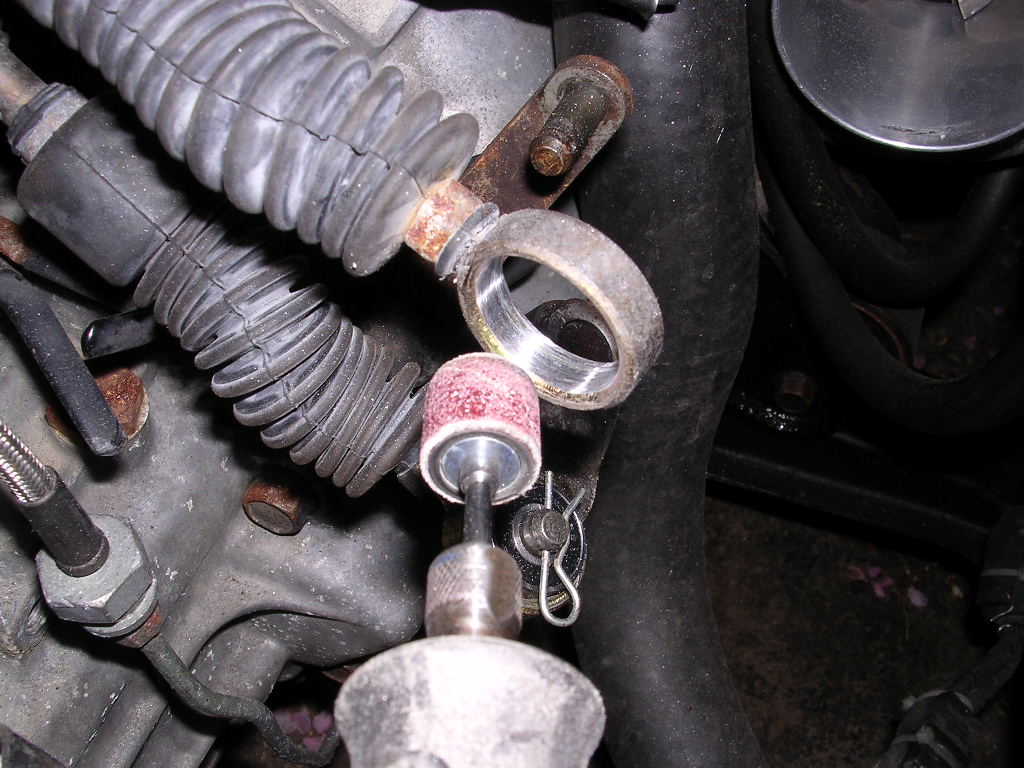
Step 4: Cleaning up the cable ends. The bearings are a VERY tight fit in the shifter cable ends. This is good so they don't fall out or slide around. The only bad thing is that it makes getting the bearings in the cable ends all the harder. If you have the cables out of the car and are using a press or a large vise you don't need to clean up the ends. If you are putting them in on the car then take a dremel and a fine grit sanding drum to the inside of the cable ends. Don't go nuts here as all you want to do is take a very tiny amount of material off. With the dremel on a medium speed and light pressure a few seconds is all you are looking to do.
Step 5: Pressing the bearing kit in half way. This is where you will need a small vise or other clamping tool with flat surfaces to press the bearing in. Putting a light coat of engine oil or other lubricant on will aide getting the bearing in. Make sure to keep the bearing going in straight. Simply clamp down on the bearing and the shifter cable end and start to press the bearing kit in. If you manage to get crooked get a socket that will fit inside the cable end and tap the bearing kit out and start over. If you can't seem to get it started and going in straight take the dremel and sand a tiny tiny tiny bit more.
Step 6: Pressing the bearing in the rest of the way. Once the bearing kit bottoms out on the vise you will need a socket to allow pressing the bearing kit in further. A 22mm or 7/8" socket works well for this. Put the socket over the cable end opening that doesn't have the bearing sticking out. Start to clamp down again. This will allow the bearing kit to be pushed further into the cable end. If it doesn't push through try readjusting the socket as you may have and edge blocking the bearing from coming through. Go in small increments until the bearing kit is pushed through evenly. If you manage to go too far then simply put the socket on the other end and push the bearing kit back slightly.
Step 7: Reassembly. It is adviseable to clean up the transmission pins that the shifter cable ends attach to. You can use the dremel to clean them up or a small piece of sandpaper. Put some axle grease or thick lubricant on these pins to keep them from rusting and to allow easy removal in the future. The bearings may not feel like they will drop down onto the pins but with a good push they will fall into place just make sure you are putting them on straight. Put the cables back into the transmission brakets and put the locking clips back in place. Put on the cotter pins and enjoy!


